Have you seen this new trend of wearing knee socks with boots? I think it is kind of fun, especially the lace socks. However, I have seen them for $24 in the boutiques. Yikes! That is expensive for a pair of socks and I am really trying to cut back on spending and shopping! What's a girl to do?
I have had these socks in my drawer for awhile now. We bought them for my husband for his
conquistador Halloween costume. As soon as the party was over he said, "
Ew! Girl socks!" and they have been in my sock drawer ever since. I have finally found a use for them!

For this project I bought 3/4 yard of lace trim at
Walmart for $.73 (the socks are from
Walmart too- they were around $2.00). I was just a fraction of an inch short on lace. I would recommend that you buy
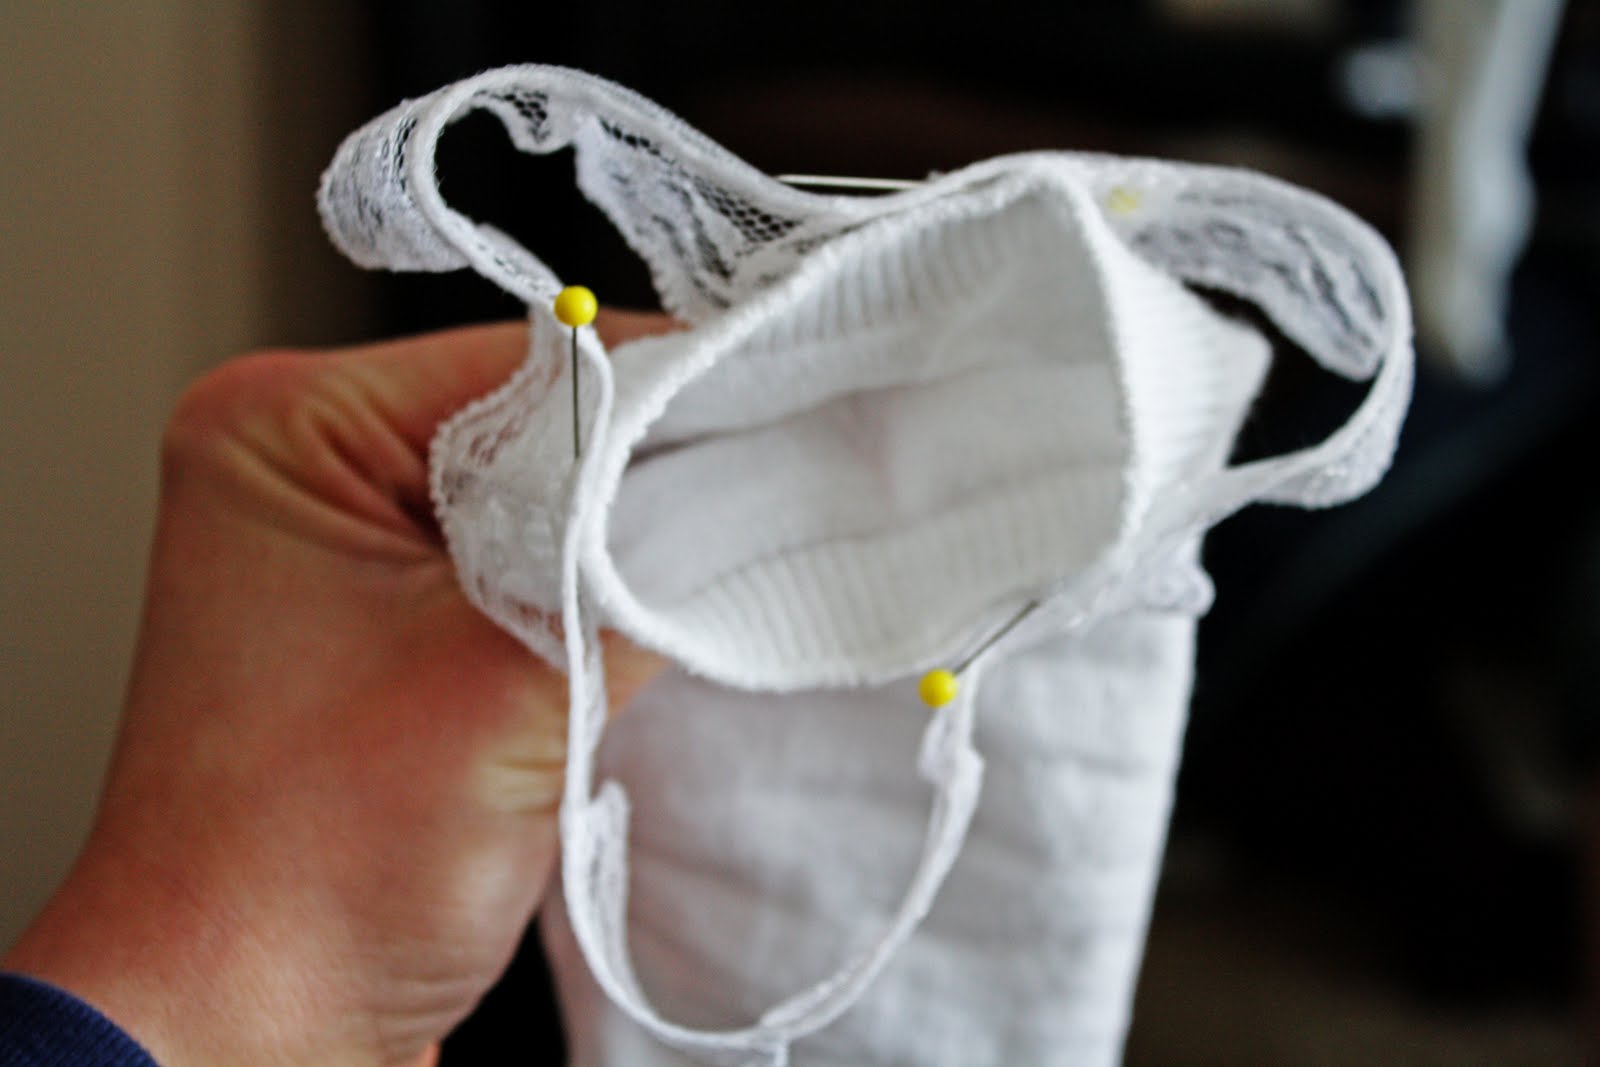
1 yard.Start by putting the socks and CAREFULLY pinning the lace on the sock. I started in the back so that the "seam" wouldn't show as well.
CAREFULLY take off the socks when you have finished.

If you don't use a
sufficient number of pins- it will look like this. You can stretch out the sock and pin it down better if this happens.

It should look more like this.

Using a matching thread, stitch all the way around the sock.
Back stitch at the beginning and end.
BE SURE to pull the sock really tight as you are sewing. Otherwise the lace won't look right when you are wearing the sock.

Clip the extra threads and make sure that everything looks good. If you don't have a machine you could probably do this by hand- just make sure the sock is stretched out during the stitching!

Ta
da! Wear your new socks proudly! These cost around $3.00- saving you $21.00.

You could make socks in a variety of colors with varied sized lace. Other trims could be fun too!

These are the new boots I got for Christmas- "
Zaney" by Madden Girl. Oh how I love them!
The dress is from Target.

Be sure to let me know if you make any socks! I would love to see them and feature you!


 I made the flower by cutting out a variety of circles and stacking them. I then bunched up the bottom and sewed it together.
 Aren't they cute? Amber made a gray one like Delia's.