Tuesday, November 1, 2011
Retro Room Redo
Do you remember my retro room? It's our downstairs family room. Recently we gave it a small facelift. Over the summer I gathered retro-inspired paraphernalia and we rearranged all the decor to add it in. I want the walls to be plastered with stuff, like a themed restaurant.


Labels:
home decor,
our house
Thursday, October 6, 2011
Touches of Fall and Anticipation!
Putting up my fall decorations is one of the best times of the year. It is the anticipation of things to come... Halloween, fall leaves, Thanksgiving, and best of all Christmas!!! Husband and I plan out the entire season and we will do holiday-ish things pretty much every weekend for the rest of the year (we're kicking it off this weekend with a Halloween movie, hot chocolate, and homemade pumpkin cookies if all goes according to plan).
I have known what my Halloween costume would be since spring and have been buying stuff for it all year. Today I made the final purchase on amazon.com and in 5-8 business days I will be putting on the finishing touches! Nope, sorry, I don't tell anyone what my costume is going to be, unless my mom helps make something, then she gets to know.
It snowed today! It's so strange that just 4-5 days ago it was in the 80s, and today there was a little bit of snow on the ground. It was strange to have green leaves on the trees during this storm. The leaves haven't even changed yet. The seasons are all mixed up! It's supposed to warm up again next week, but there's nothing like a little bit of snow to get you in the holiday spirit!
I just love the feeling of anticipation in the air and in my heart! That sounds super cheesy, but it's true! Happy holiday season!
Labels:
fall,
home decor
Thursday, June 16, 2011
Vintage Travel Garland
I made this garland to decorate a going away party I had for my bro and sis-in-law that moved to the Washington DC area. I cut out the airplanes and the globes from black cardstock on my mom's Silhouette machine. I found the vintage travel posters online. The items are all just taped to the twine.
All of my travel posters are for DC because that's what my theme was. You could use any area, or a variety of locations to make the garland more reusable. Click here for a website I found that has free posters.
For the party I hung up maps in the room of the world and the DC area. I also put a globe on the table. I didn't know if this was cute or not, but husband told me it was okay. Then I got made fun of by the party guests so I guess "not" was the answer.
Oh well, the garland is super cute and I really love how it turned out. I love vintage travel posters. I thought about hanging it in the retro room, but it's too long to hang there so I will be using it in my classroom next school year.
P.S. Thanks for the help, Mom!
Labels:
garland,
home decor,
party
Friday, June 3, 2011
Toilet Paper Art- finished!
I have had my TP art done for awhile now but it just got hung up last week so I am finally ready to post it. If you didn't see the projects that inspired me, click HERE to take a peek. Some of those projects have more in depth tutorials that I have here so you'll want to check them out if you are interested in making your own.
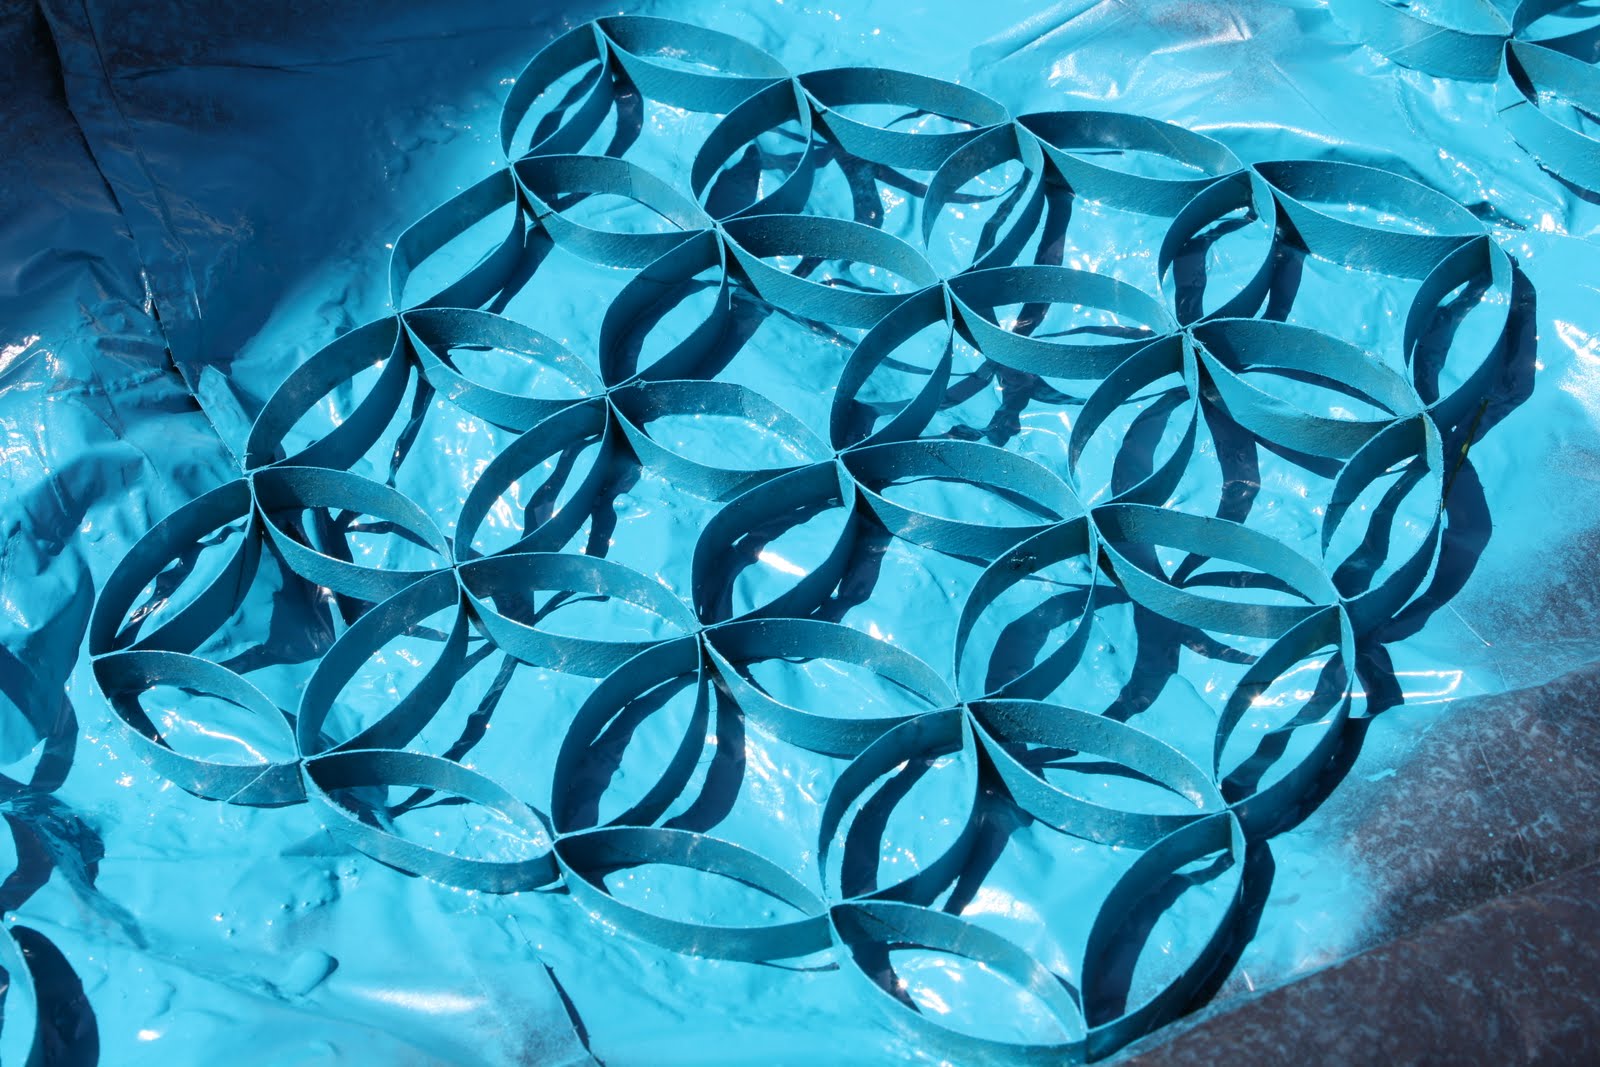
I followed the tutorials to flatten the toilet paper holders and cut them into strips. Then I laid them out in the pattern I wanted. After a lot of playing around I came up with this design.
I used wood glue to attach the pieces together because that is what I (husband) had on hand. I am sure any glue would work fine.
After it was glued together I took it outside to spray paint.
Labels:
home decor,
recycle,
tutorial
Saturday, April 2, 2011
TP art inspiration
I recently discovered toilet paper holder art. I am TOTALLY making some of these. My mom has been saving the rolls from her house too and I have enough to start today while I listen to LDS General Conference. Here are the projects I will be using for inspiration.


The How-To Gal
My plan is to combine a few of the ideas and put my own twist on it. I want to make four small pieces to hang together for a big impact. I am totally copying the turquoise color- I already bought the spray paint.
Any suggestions? Wish me luck! Hopefully it will be all done to show you in a couple of weeks.
My plan is to combine a few of the ideas and put my own twist on it. I want to make four small pieces to hang together for a big impact. I am totally copying the turquoise color- I already bought the spray paint.
Any suggestions? Wish me luck! Hopefully it will be all done to show you in a couple of weeks.
Labels:
home decor,
inspiration
Saturday, January 22, 2011
Valentine's Book Page Garland
I love the trend of crafting with book pages. I am not usually into Valentine's decor but thought it went well these book page pinwheels. (Scroll to the end to see the entire garland).


Stack the pages on top of each other and accordion fold about 1 inch (or any size you want).
Pull the pages apart to use them separately.
Stack the 2 folded up papers on top of each other and secure with a small piece of wire around the middle.
Open the paper into a pinwheel and glue all 4 of the open sides together.
(After finishing this garland I found this tutorial for an adorable project that also uses these wheels. Follow the instructions in the video to use double stick tape instead of wire.)
The wheel looks like this when finished.
Now embellish as desired. I cut out a black circle from cardstock and a heart from some metallic red paper. I used 7 wheels total.
I then glued all of the wheels vertically onto a thin black ribbon. (Three wheels on one ribbon and two each on the other two ribbons. If that is confusing just look at the pictures below.)
I cut out another cardstock circle to glue to the back over the ribbon to make the wheel a little sturdier.
As seen below, I looped the ribbons over a curtain rod. I didn't want to tie knots so I used alligator clips to secure it. The clips are hidden behind the wheels so you can't tell that they are there.
I cut out another cardstock circle to glue to the back over the ribbon to make the wheel a little sturdier.
As seen below, I looped the ribbons over a curtain rod. I didn't want to tie knots so I used alligator clips to secure it. The clips are hidden behind the wheels so you can't tell that they are there.
BACK:
Labels:
book page,
garland,
home decor,
tutorial,
valentines
Thursday, September 16, 2010
Living Room Makeover
My Internet was down and I missed What I Wore Wednesday. Rather than do it late, I will just save the outfit pics until next Wednesday.
Today I am going to share with you my living room makeover. It has been 2 years in the process and now it is 100% done!
The previous owners had decorated the room like this:
Not only was it not my style, but we wanted to make our house OUR house. I didn't want to feel that I had moved into someone else's home.
We started by painting the walls a light tan color and replacing the carpet. We added our furniture and decor. Several months later we added the orange wall (LOVE it!) and the tile entry way.
This summer we changed up some of the decor, starting with this wall collage.

I love how it turned out. I cut papers the same sizes as the frames and hung them on the wall with painter's tape to make sure I liked the arrangement before putting nail holes in the wall. I took a picture of this process but I can't find it, sorry.
This is what it looks like over the couch. Before it was just the mirror, the large painting, and a wreath. This really adds some color to the room and makes it a little more modern.

All of the photos (besides the wedding ones, of course) were taken by me.

The frames are all cheap ones from Walmart and I shopped around for deals on matching art.

I really love the orange wall.

Orange and green were our wedding colors so I used them for decorating colors too. I was able to reuse many things including the beautiful floral arrangement below.

I bought this corner shelf at Ikea for pretty cheap (I think $20 but I am not sure).
We started by painting the walls a light tan color and replacing the carpet. We added our furniture and decor. Several months later we added the orange wall (LOVE it!) and the tile entry way.
This summer we changed up some of the decor, starting with this wall collage.
I love how it turned out. I cut papers the same sizes as the frames and hung them on the wall with painter's tape to make sure I liked the arrangement before putting nail holes in the wall. I took a picture of this process but I can't find it, sorry.
This is what it looks like over the couch. Before it was just the mirror, the large painting, and a wreath. This really adds some color to the room and makes it a little more modern.
All of the photos (besides the wedding ones, of course) were taken by me.
The frames are all cheap ones from Walmart and I shopped around for deals on matching art.
I really love the orange wall.
Orange and green were our wedding colors so I used them for decorating colors too. I was able to reuse many things including the beautiful floral arrangement below.
I bought this corner shelf at Ikea for pretty cheap (I think $20 but I am not sure).
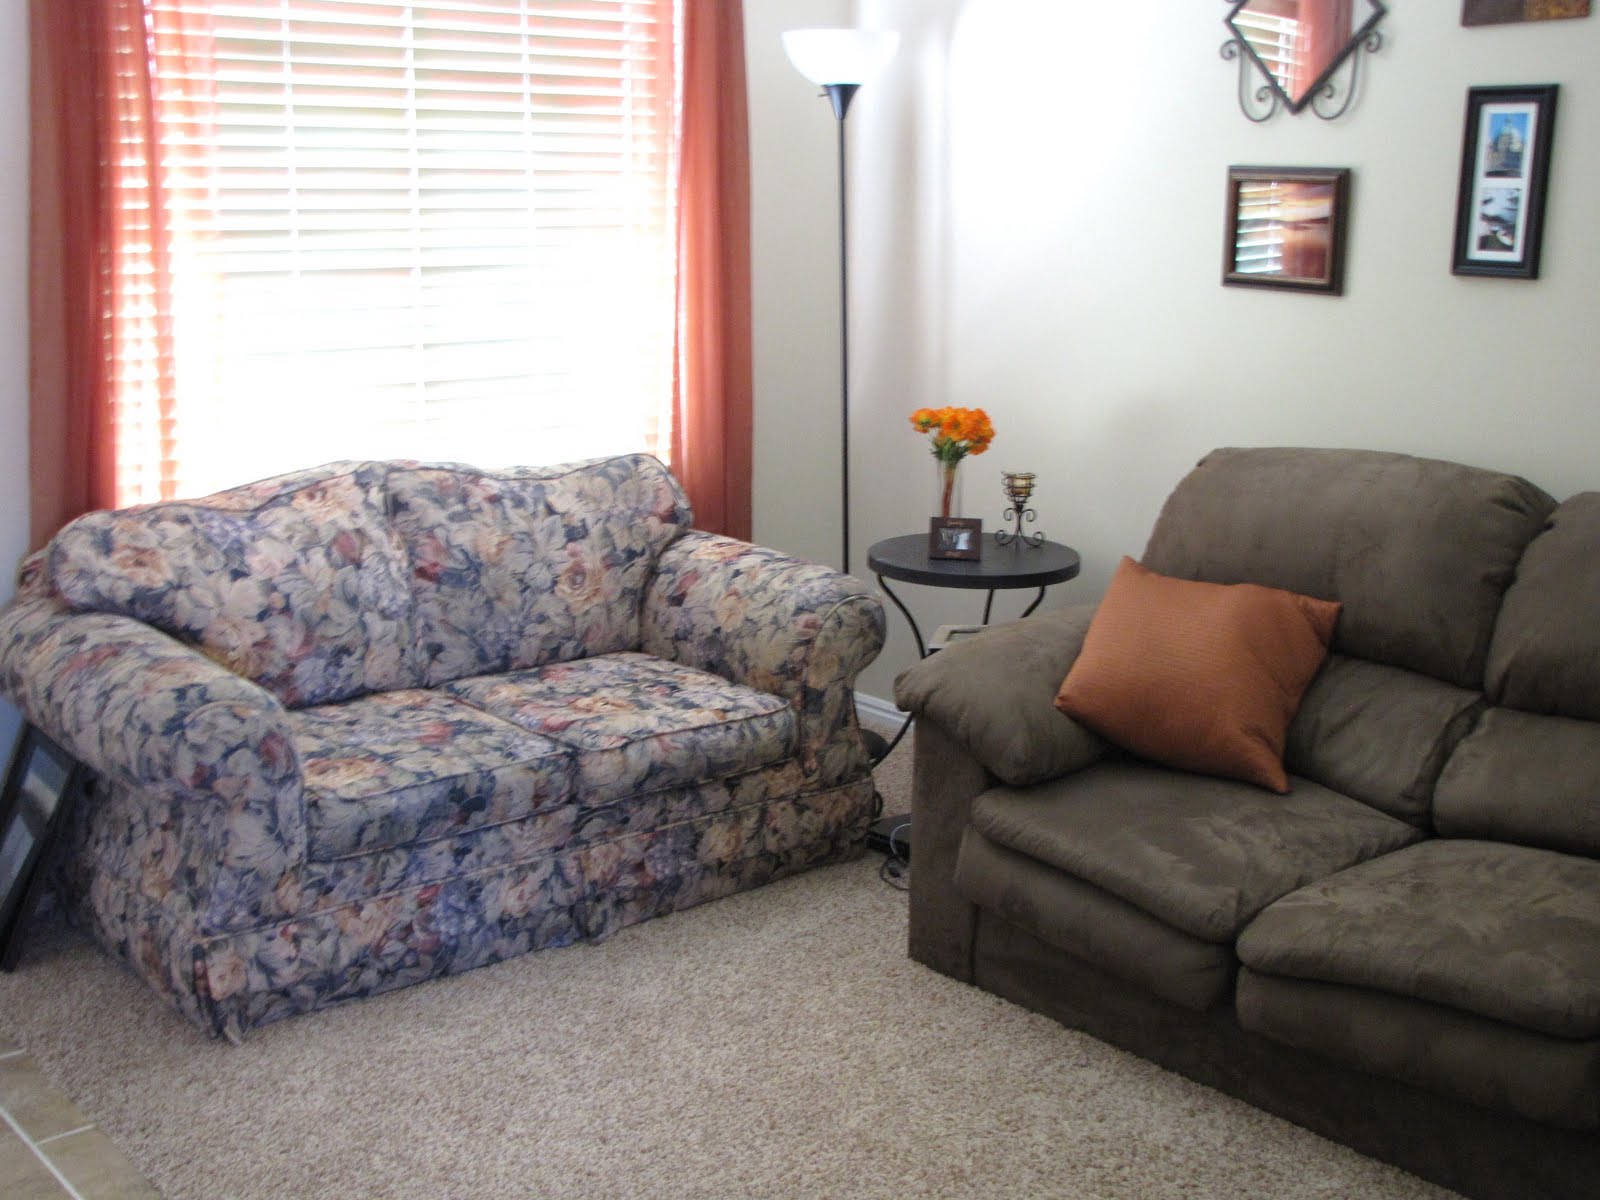
The couch is a hand-me-down from my grandma. When we first got it we put a slipcover on that matched the other couch. I took it off to wash it and decided we liked the whimsy the uncovered couch added to the room. What do you think?


How could I forget the tile? All carpet and tile work done by my husband. His family owns a flooring company. If you are in the Utah or Salt Lake county areas and are in need of some floor work or repair let me know I will get you his contact info! (I will be showing a wood floor and bathroom tile floor soon, too!)

If you have been thinking of going bold with the paint- DO IT! You can always paint over it if you want. I LOVE it. Click HERE to see my bright red retro family room!
How could I forget the tile? All carpet and tile work done by my husband. His family owns a flooring company. If you are in the Utah or Salt Lake county areas and are in need of some floor work or repair let me know I will get you his contact info! (I will be showing a wood floor and bathroom tile floor soon, too!)
If you have been thinking of going bold with the paint- DO IT! You can always paint over it if you want. I LOVE it. Click HERE to see my bright red retro family room!
Have a great day!
Labels:
home decor,
our house
Subscribe to:
Posts (Atom)