

Tuesday, October 30, 2012
A New Blog!
Hi friends! I am just dropping in here again to let you know that I have started another blog if you want to still follow along with me. It's called look.feel.be. It's a different kind of style blog. It's all about looking good, feeling good, and most importantly being a good person. I am planning on posting outfits, style inspiration, wardrobe how- to, along with healthy recipes, exercise, motivation, and inspiration/discussions on becoming a better me. (And I am still crafting so there might be an occasional DIY- and I will be showing off my kitchen redecorating project.) I only have a few posts so far (and no followers- frowny face) so I would love if you would stop by and say hi at look.feel.be.

Saturday, August 18, 2012
The End
Thank you so much for being a part of my experience here at Yellow Blackbird. The time has long since come to end the site. I knew that the time had come back in June, but I had already committed to the Mod Podge campaign, then came the Shabby Apple and JUNIEblake giveaways so I kept the blog limping along to give you readers a chance to win those prizes. I haven't posted more than just a few times the last few months; I have been procrastinating writing this because I may or may not have something new up my sleeve and wanted to let you all know before I said farewell, you unsubscribed, and we never saw each other again. But I just don't know when/if something new will happen and wanted to have a solid end. I really dislike when a blog I read just simply stops posting with no explanation. I will come back here and post again if do indeed have news.
I began this blog to explore my creativity and to learn about myself. I feel successful in that mission. I am confident enough now to say that yes, I am a creative person. I also learned a lot about how I dress myself. Just recently I had reason to back through my old outfit posts. Oh how embarrassing!! But it was a good exercise for me.
Yellow Blackbird never exploded onto the big blog scene. I didn't try hard enough, and I am tired of the competition. It's hard to link up to 700 parties each week, not to mention all the time that goes into blogging. Yellow Blackbird just isn't fun for me anymore. I no longer feel the need to show of my projects and receive some validation (not to mention that even with 500+ readers and thousands of views each month I rarely got more than 3 comments on a post. Maybe that's just me being petty and vain, but I hated not knowing if anyone was actually reading and actually liked what I was making).
My Etsy shop is still up and running. Come see me there any time. Thanks for reading!
Saturday, August 4, 2012
And the Winners are....
The winners of the JUNIEblake giveaway are
#6 Melissa Palmer
and #16 Kai Bowen.
Congratulations! I will send on your info to the JUNIEblake people. Thanks to all who entered!
#6 Melissa Palmer
and #16 Kai Bowen.
Congratulations! I will send on your info to the JUNIEblake people. Thanks to all who entered!
Thursday, July 26, 2012
It's My Birthday and You Get a Present! (JUNIEblake Giveaway)


This week I celebrated my birthday! We had a little family party to celebrate the Utah holiday of Pioneer Day and my nephews birthday, and Spencer took me to the zoo too. The coolest part was seeing a polar bear... and eating a churro.
Since I have been celebrating... I have a gift for you! ANOTHER GREAT GIVEAWAY! You can enter to win 1 of 2 $30 gift cards to JUNIEblake. This is a new clothing company that sells trendy and modest clothes. You can see a few options in the photo below, but go to their site to see all the products.

JUNIEblake is really trying to get the word out about their company so there are a few things you need to do to help them in order to be eligible to win. Be sure to leave a SEPARATE comment for each thing you do. If you just leave one comment you will only get one entry.
1. Like JUNIEblake on Facebook
2. Share something about JUNIEblake with your Facebook friends (click SHARE on a JUNIEblake post so that it reposts to your wall.
3. Leave a comment on the JUNIEblake Facebook page (tell 'em YBB sent you)
The contest will close on THURSDAY, AUGUST 2 and the winners will be chosen by random.org on Friday. Even though you can enter multiple times, you cannot win both of the gift cards. Random numbers will be selected until 2 different people win.
Good Luck!
Saturday, July 14, 2012
Shabby Apple Winner
It's time to announce the winner of the Shabby Apple $50 gift card. Thanks to all who entered! Random.org thought that #57 should win the prize... so Janie B. was the big winner! Congrats! I will be in touch soon!


Friday, July 13, 2012
Princess T-Shirts (Freezer Paper Stenciling)

My twin nieces just turned 4. They will soon be leaving for their first trip to Disneyland. I wanted to make them t-shirts for their birthday that they could wear on their trip. Their names start with A and B so I used their favorite Disney Princess to make the shirt for Princesses A and B. For information on how to do freezer paper stenciling, see the links in this post.


Don't forget that today is the last day to enter the Shabby Apple giveaway!
Thursday, July 5, 2012
Shabby Apple $50 gift card giveaway!

That's right, friends. Shabby Apple is offering a $50 gift card to one lucky Yellow Blackbird reader. (If you don't already know Shabby Apples sells beautiful dresses, skirts, tops, accessories and more.) There are only a few things you need to do to enter:
1) Like Shabby Apple on Facebook, then come back here and leave a comment telling me you did.
AND
2) Visit the Shabby Apple website and then come back here and leave a separate comment telling me what you might purchase with your gift card.
YOU MUST LEAVE YOUR EMAIL ADDRESS IN THE COMMENTS (or if you know I can reply to your blogger comment that will suffice. I just need to easily contact you.)
OPEN TO U.S. RESIDENTS ONLY
The last day to enter will be Friday, July 13th and the winner selected randomly on Saturday, July 14th.
I know there are a billion blog giveaways out there but I would suggest entering this one because there won't be hundreds of entries and you have a pretty good chance of winning!
Wednesday, June 27, 2012
Paris Necklace Tutorial


Next I had to figure out my design.


You can uses these shapes to customize any piece of jewelry with any paper. Ooh! Or how about photos? That would make a cute gift for a grandma- photos of the grandkids? The possibilities are endless!
Like this post? Keep up with Plaid on Facebook, Twitter and Pinterest.
This post was brought to you as a paid promotion by Plaid and the Blue Print Social. All opinions are my own.
If you want to see more projects using Mod Podge goodies, check out the links below.
Monday, June 25, 2012
An Outfit


Old Navy t-shirt, Forever 21 cardigan and bracelet, Bags that Fit (local boutique) belt, Kohl's watch, Yellow Blackbird necklace and skirt, Payless shoes
I haven't posted an outfit picture in a really long time. I really liked what I wore to church yesterday so I thought I would snap a few pictures of it and share here. Yes, the 100 degree weather is a bit warm for a sweater, but it was perfect for the A/C in the church.
Be sure to come back on Wednesday for a fun new jewelry tutorial!
Thursday, June 14, 2012
I've Gone Crazy for Crochet!
Over the spring I took a crochet class. (Utah locals- check out Canyons School District community ed classes for next fall if you are interested.) We spent one week learning each stitch. I liked it okay, but just stitching in rows making washcloths wasn't that thrilling to me. The last two weeks of the 8 week course were spent making flowers and by so doing, learning how to read a pattern. My flower from the class turned out just okay.... but I LOVED reading the pattern and crocheting in the round. I was "hooked" ha ha!
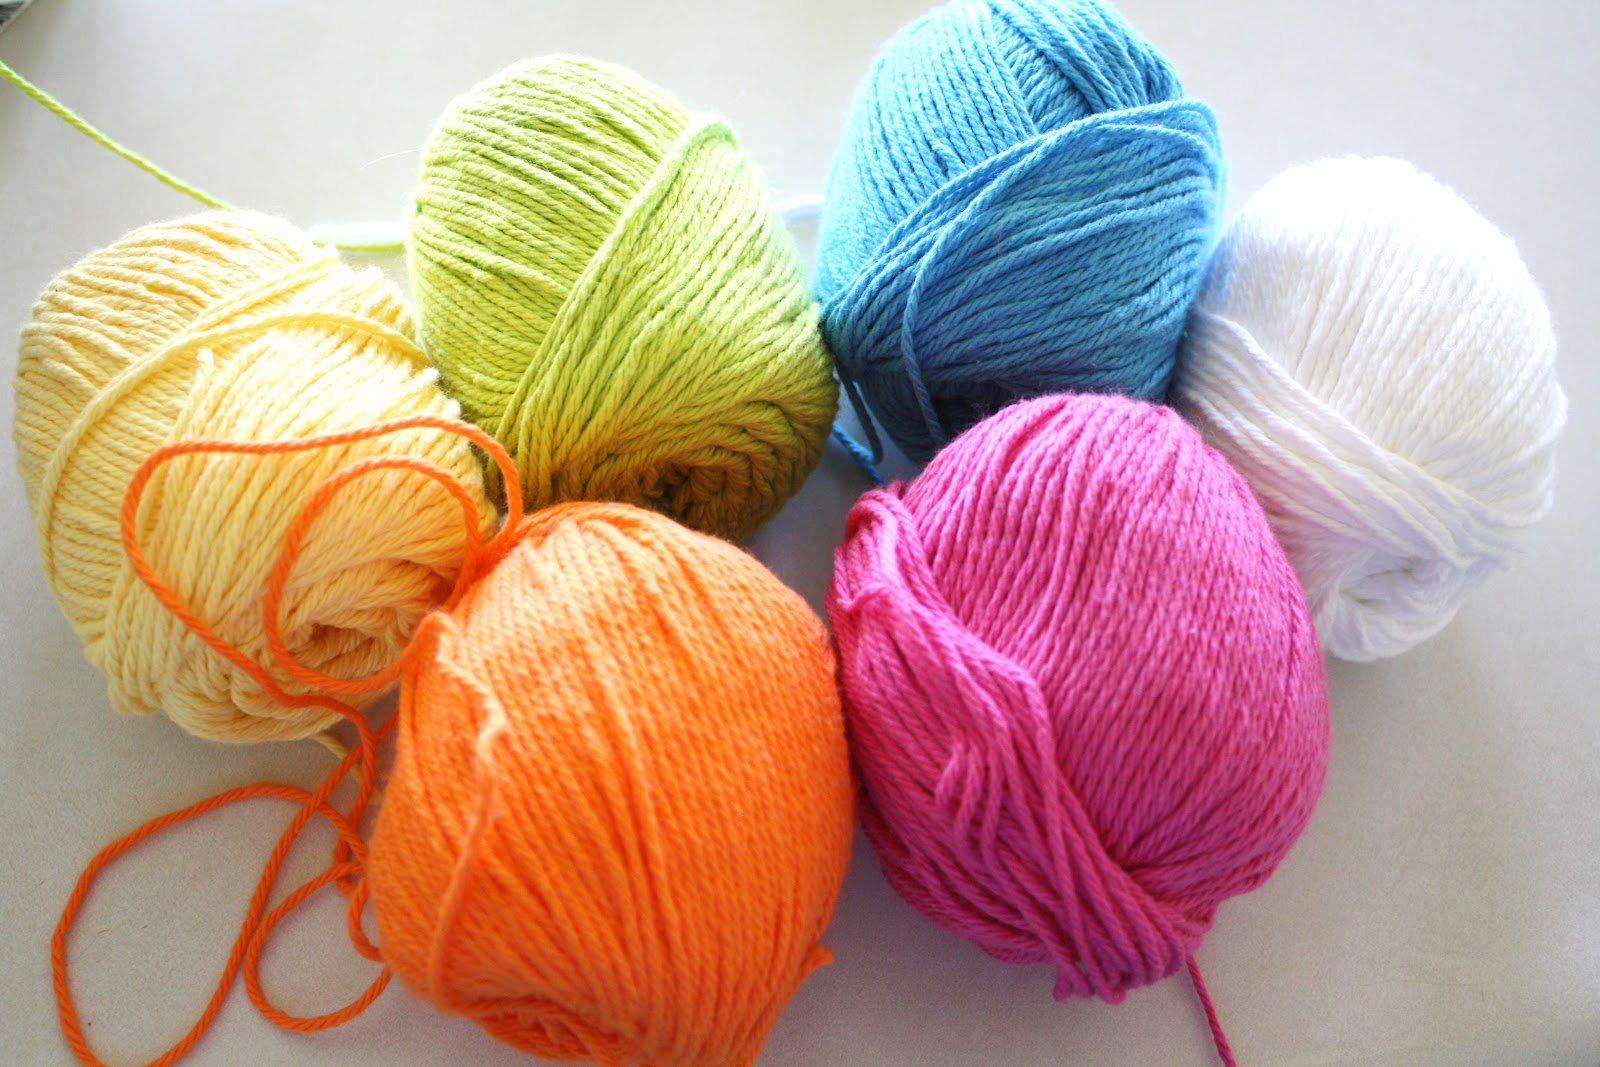
I bought these six skeins of yarn from Walmart- the cheapest they had in order to practice following patterns.

The first pattern I tried on my own was this Hawaiian flower by Sarah London. I didn't realize until it was too late that the pattern was written using the British symbols, which are different than American ones. (Plus I had a different kind of yarn.) Now, she has released the pattern as a PDF so it's easier to follow. I will have to try again.

The next pattern I tried was this Japanese Flower from Revving it Up. LOVE IT!

I really wanted to try a granny square next. I did make a very simple small square but wanted something more fun. I made this African Flower Granny Sqaure by following a YouTube video. It isn't perfect, but I am very pleased!
 I made another flower granny square using this tutorial. Isn't it cute?

Another project I tried was baby barefoot sandals with flowers. I think I am going to put a button or jewel or something in the center of the flower.

What's my next project? I will give you a hint:

I have pinned over 130 crochet projects so far... more than I can possibly hope to make. If you want a list of a lot of free patterns, check out or follow my crochet pin board.
Want to learn to crochet? I would highly recommend Crafty Minx's free Crochet School. She has videos and step-by-step instructions in 23 lessons. It's a great resource and I have learned a lot through using her lessons! (There are also special videos if you are left-handed.)
Have fun!
I bought these six skeins of yarn from Walmart- the cheapest they had in order to practice following patterns.
The first pattern I tried on my own was this Hawaiian flower by Sarah London. I didn't realize until it was too late that the pattern was written using the British symbols, which are different than American ones. (Plus I had a different kind of yarn.) Now, she has released the pattern as a PDF so it's easier to follow. I will have to try again.

The next pattern I tried was this Japanese Flower from Revving it Up. LOVE IT!

I really wanted to try a granny square next. I did make a very simple small square but wanted something more fun. I made this African Flower Granny Sqaure by following a YouTube video. It isn't perfect, but I am very pleased!


Another project I tried was baby barefoot sandals with flowers. I think I am going to put a button or jewel or something in the center of the flower.

What's my next project? I will give you a hint:

I have pinned over 130 crochet projects so far... more than I can possibly hope to make. If you want a list of a lot of free patterns, check out or follow my crochet pin board.
Want to learn to crochet? I would highly recommend Crafty Minx's free Crochet School. She has videos and step-by-step instructions in 23 lessons. It's a great resource and I have learned a lot through using her lessons! (There are also special videos if you are left-handed.)
Have fun!
Wednesday, June 6, 2012
Mod Podge Rocks book review


Whether you have used Mod Podge for years and years, or are a beginning crafter, you can find something useful in this book. And isn't it great to see a fellow blogger have such success? Support Amy and show her some love by picking up your own copy!
Yes I was provided this book to review, but all opinions are my own.
Thursday, May 31, 2012
Anchors Away Freezer Print Tee
Hi friends! It's been awhile but I am back to show you my latest DIY project. I tried freezer paper stenciling... and it lived up to all the hype. Fun and easy... if you follow the directions (see below). This is actually my second freezer paper project, but I have had to keep the first one a secret...for now :)

What is freezer paper stenciling, you say? You use freezer paper to make a stencil and paint it on fabric. I painted the gold anchor on the Old Navy orange striped t-shirt. I used this tutorial to cut the stencil with my Silhouette Cameo machine, this tutorial for the whole process, and some of these tips too.
PLEASE MAKE SURE that you put some paper or something in between the layers of your shirt. The first time I made this anchor shirt I forgot that step and made a huge mess. I had to go back to Old Navy and luckily they had one last shirt in my size.
ALSO, I would recommend 100% cotton. I used 100% cotton on my first secretive project and it worked like a dream. This shirt was a cotton-polly blend and didn't work as well. The shirt was too strechy and didn't stay put under the stencil.


Old Navy jacket and sandals, Aeropostale pants
Saturday, May 19, 2012
What I Wore... and some changes


WHEN: Thursday, May 17
WHERE: Work and errands
GETTING CREATIVE: I made another skirt!!! Remember the first one? I used the same tutorial. I saw this fabric at Walmart and just had to have it. I love the nautical feel of this outfit. Recently, Kendi at Kendi Everyday said she was wearing an outfit that didn't make sense outside of the blogging world. I think this outfit of mine may fall under the same category. Does it make sense to anyone else in the world? The cashiers at both Hobby Lobby and Old Navy both complimented me on my outfit and I have no proof that they are bloggers so I am going to say yes.
I need haircut! Only 4 days until my appointment!
So... on a different note.... I have tried blogging a little bit on a schedule and it really isn't working for me. I have missed Favorite Pin Friday 2 weeks in a row now and seem to blog out of obligation rather than enjoyment (which is especially funny since I currently have no sponsors). From this point on I am only going to blog when I feel like I have something good to share. Only like 15 people ever looked at the Pinterest feature and virtually no one ever commented on it. I guess it wasn't that exciting of a post, especially if you already follow me on Pinterest.
As for What I Wore on Saturday... I think that won't necessarily be a regular feature anymore. I still want to blog some of my outfit photos, but since I am taking less photos now anyway, I will just show you when (I think) I have a good one. This will also allow me to do more writing, should I choose to. I am pretty darn sure most of you are here for the tutorials and craft projects anyway and since I only have 4 1/2 days of school left I should be able to get the projects I have been working on posted.
Hooray!
Linking up with Pleated Poppy and Momma Go Round.
Monday, May 14, 2012
DIY Shoe Makeover Round Up
I spent some time over the weekend looking up ideas for ways to bring new life to shoes. I think it sounds like a fun summer project and a good way to use what I've got and not spend money on new shoes. Here are some of my favorite ideas. Click through to go through Pinterest to the tutorial.


I just wonder how long these embellishments last. Is the glitter going to flake off? The spray paint? Will the fabric fall off? Anyone have any experience with anything like this?
I just wonder how long these embellishments last. Is the glitter going to flake off? The spray paint? Will the fabric fall off? Anyone have any experience with anything like this?
Saturday, May 12, 2012
What I Wore

Old blazer, JCP skirt, Express shirt, Payless shoes and bracelets, Kohl's watch
WHEN: Wednesday, May 9
WHERE: Work
GETTING CREATIVE: I have had this polka dot blazer for years and years, but hadn't worn it since I turned all my hangers backwards in January. I tried on a polka dot blazer on a shopping trip last weekend and was reminded that I already have one (although they did look entirely different). I love black and white and yellow so thought the blazer would be perfect with this skirt.
It's kind of ironic, but the more confident I become in my outfits and style, the less I feel the need to take photos. You would think that I would want to take more pictures to show off better clothes, but I just don't feel the need.
PLUS I realize that repeat outfits are okay and it's easier just to look through the blog archives and find the old photo instead of taking a new one:

These Are a Few of My Favorite Pins
Better late than never, right? This is usually a Friday feature and I am sorry I missed you yesterday.

I love vintage/retro everything! This "Precious Cargo" baby shower is amazing!

I can always use new inspiration to wear my red jeans. I feel like I have run out of ideas.

This week in my crocheting class we learned how to read a pattern. This doesn't look too terribly hard, although I haven't tried it yet.

I love this. I love the use of church sayings. Something like this could help me update the feel of my home. I have been feeling old fashioned lately.

This looks great! Next time we get bell peppers from our Bountiful Basket (food co-op) or when they are in the garden I am trying this.
As always, I hope you have a creative weekend! My plans for Saturday include finishing the mother's day stuff, working on my many belt orders, and hopefully making a skirt. I found the cutest fabric (navy with large white polka dots) for pretty cheap at Walmart so I am going to make another elastic skirt.
I love vintage/retro everything! This "Precious Cargo" baby shower is amazing!
I can always use new inspiration to wear my red jeans. I feel like I have run out of ideas.
This week in my crocheting class we learned how to read a pattern. This doesn't look too terribly hard, although I haven't tried it yet.
I love this. I love the use of church sayings. Something like this could help me update the feel of my home. I have been feeling old fashioned lately.
This looks great! Next time we get bell peppers from our Bountiful Basket (food co-op) or when they are in the garden I am trying this.
As always, I hope you have a creative weekend! My plans for Saturday include finishing the mother's day stuff, working on my many belt orders, and hopefully making a skirt. I found the cutest fabric (navy with large white polka dots) for pretty cheap at Walmart so I am going to make another elastic skirt.
Subscribe to:
Posts (Atom)


